Direct-To-Film printing has gained a ton of traction over the past 12 months and is quickly becoming one of the go-to printing methods in the garment decoration industry.
Also known as DTF printing, it’s an easy process that can be completed in steps in a matter of minutes.
- Print Design onto Film Paper
- Hot-Melt Powder Application
- Melting the Hot-Melt Powder
- Pre-Pressing Garments
- Applying the Transfer
- Cold Peeling the Transfer
- You’re Finished

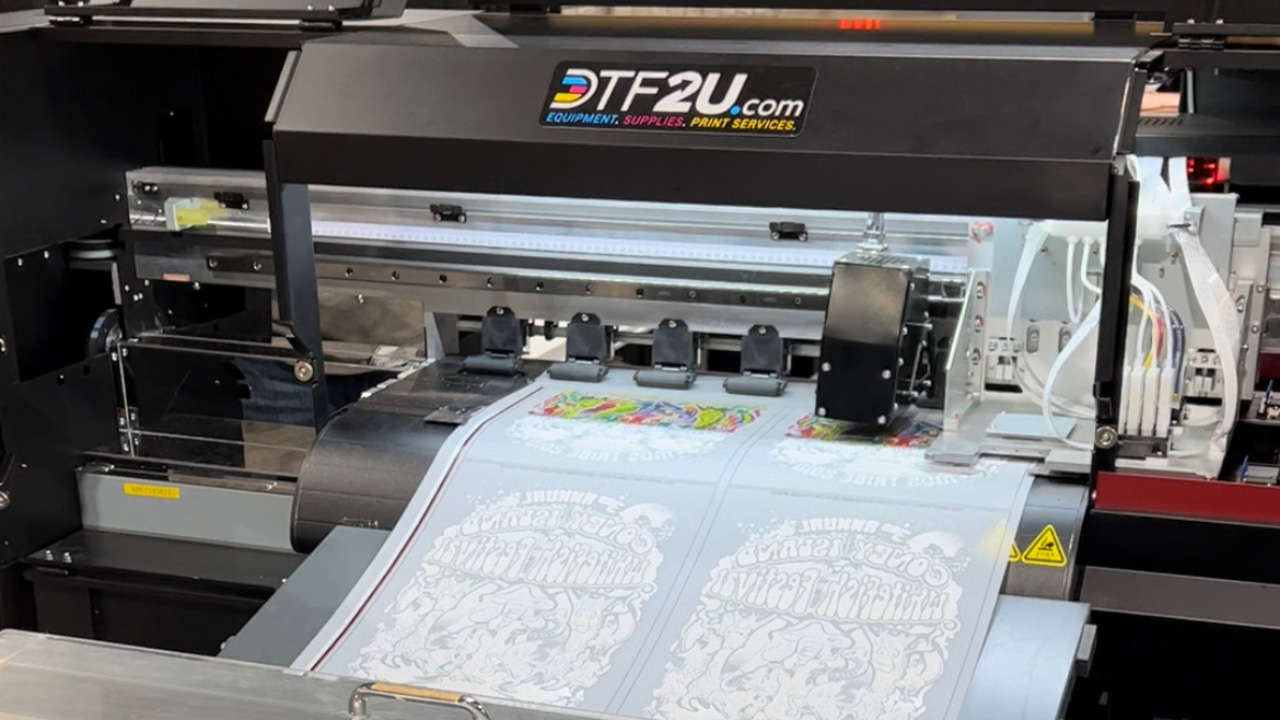
Step 1: Print Design onto Film Paper
In order to print a DTF transfer, you will need some sort of Ink Jet printer and what is called PET Film.
The PET film, or Polyester film, is a versatile plastic that serves as the perfect material to print your full color transfer onto.
From small ink jet printers that are suited for your household, to commercial printers that can manage a full- fledged business, there are many options when it comes to finding a printer that will be able to print DTF transfers.
Step 2: Hot-Melt Powder Application
Applying a layer of hot-melt powder to your film paper is the second step in direct-to-film printing.
This step is necessary because it improves contrast and sharpness, making for better prints in general.
You must apply the hot-melt powder while the DTF transfer is still wet.
It must also be spread evenly which can be accomplished by applying the powder and see-sawing it back and forth.
The hot-melt powder can be applied manually, as explained above, or with the use of a shaker.
High-end DTF printers will include a shaker that will handle this step of the process for you and ensure a perfect coating of powder every time.
Step 3: Melt the Powder onto DTF Transfer
There are a couple of ways you can melt the hot-melt powder onto your DTF transfer.
The first option is to use an oven. Using an oven to cure the DTF transfer will take somewhere in the neighborhood of 2-3 minutes.
Another option is to use a heat gun. While this method will work, it will be trickier to ensure the entire transfer is cured properly.
The final option is by using a heat press. Most of you will have a heat press handy and you can cure your DTF transfer using the hover method.
When using a heat press, it is very important that you do not make any contact with the heat press itself.
A tip is to heat up the bottom part of your heat press for 60 seconds before placing your DTF transfer onto the heat press and curing it.
Step 4: Pre-Press Your Garment
Pre-press refers to the process of washing, drying, and ironing your garment before printing.
This is important because it removes any wrinkles or folds on your item and helps give you a nice, clean line to print on.
If your garment has a crease in it when you print on it, the ink will take longer than normal to dry and could even bleed out into another section of clothing.
Step 5: Apply the DTF Transfer
Now it’s time to apply your DTF transfer to the garment.
The beauty of DTF transfers is that it can be transferred onto a plethora of materials.
You aren’t limited to certain materials like you are with Direct-to-Garment printing.
Your DTF transfer can be transferred onto cotton and polyester garments which is a game-changer.
After you have pre-pressed your garment of choice, you will simply use a heat press to apply the DTF transfer.
Another major benefit to DTF is that your transfers do not have to be applied right away.
After you have printed and cured them, they can be stored away and used at a later date.
Step 6: Peel the DTF Transfer
When it comes time to peel your DTF transfer, there is one major step that has to be done.
You must let the transfer cool after it has been heat pressed onto the garment.
DTF transfers MUST be cold peeled. There are no exceptions.
The purpose of letting the transfer cool is to ensure that the design gels to the garment fully.
Set your transfer aside, let it cool and peel once cold.
Once the transfer has been cooled, you have the option of heat pressing the garment once more.
This will only require another 10-15 seconds to finish the job and ensure the print lasts a long time.
You're Finished!
That’s all it takes to complete the process from start to finish!
DTF printing can be for anyone. From hobbyists to business owners, DTF is a process that anyone can get started in.
Not only is it a great way to print garments, but it allows you to print onto many other materials that has been revolutionary in the industry.
For more imformation on DTF printing, click HERE.
- Is Direct-To-Film Printing Right for your Business?
- Is Direct-To-Film printing better than Direct-To-Garment printing?
- Is Direct To Film Printing The Latest & Greatest Process?
- Your Guide To Running A School Uniform Online Store
- How To Bump Up Your T-Shirt Printing Prices Without Losing Clients
- Everything You Need To Know About CMYK Color Separation
- 5 Ways to Reinvest in Your Garment Decoration Business
- Picking The Perfect T-Shirt Blanks For Your Clothing Line